Web alarm system
Valid for
|
GridVis editions |
Software platform |
|
|
|

![]()
This tutorial explains the functions of the alarm system on the web. The following content includes accessing the alarm list, viewing and acknowledging alarms, and filtering for specific alarms.
Click the Alarms hyperlink. This is located in the header of the GridVis application.
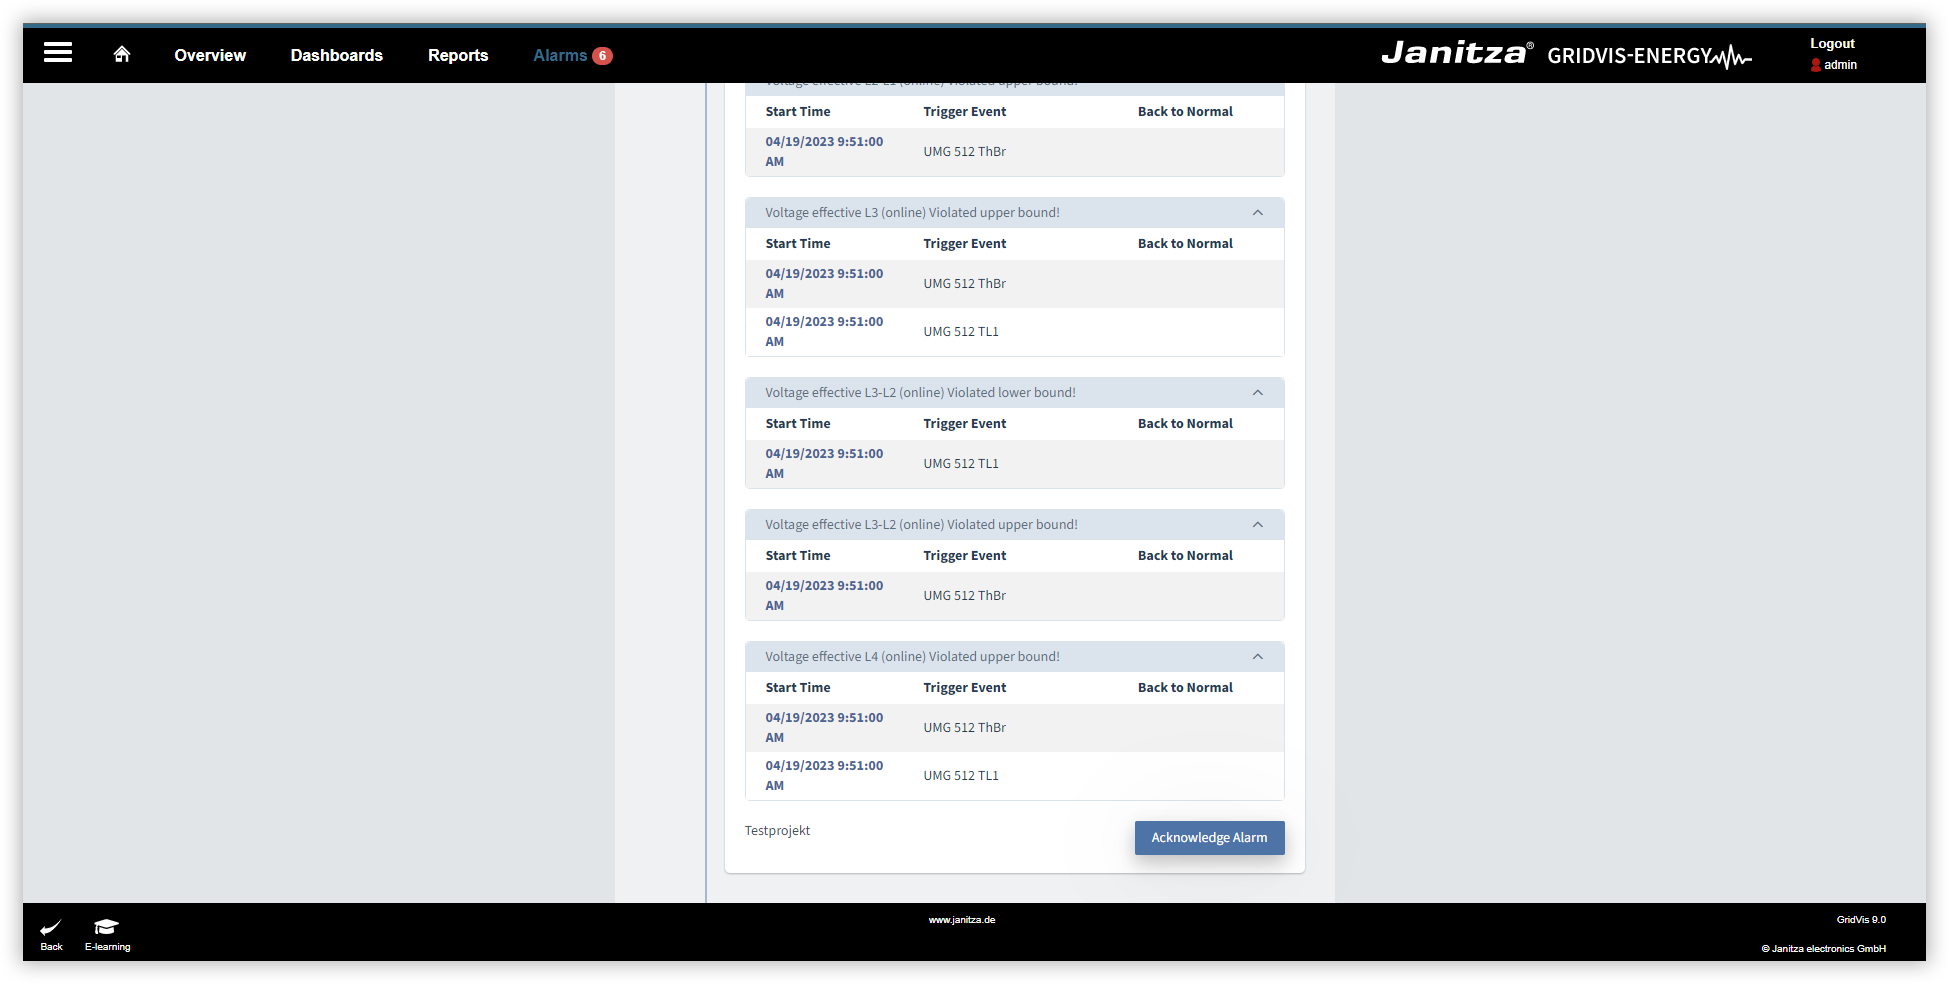
In the Pending Alarms window, click on an alarm group to display the individual alarms of this group.
To acknowledge an alarm, click the Acknowledge Alarm button. You can use the checkboxes to confirm the alarms of several groups at the same time.
The Acknowledge Alarms window opens. Enter a comment and then click the button Acknowledge alarms now. Note that a comment must be entered to acknowledge an alarm.
Click Back to return to the alarm overview.
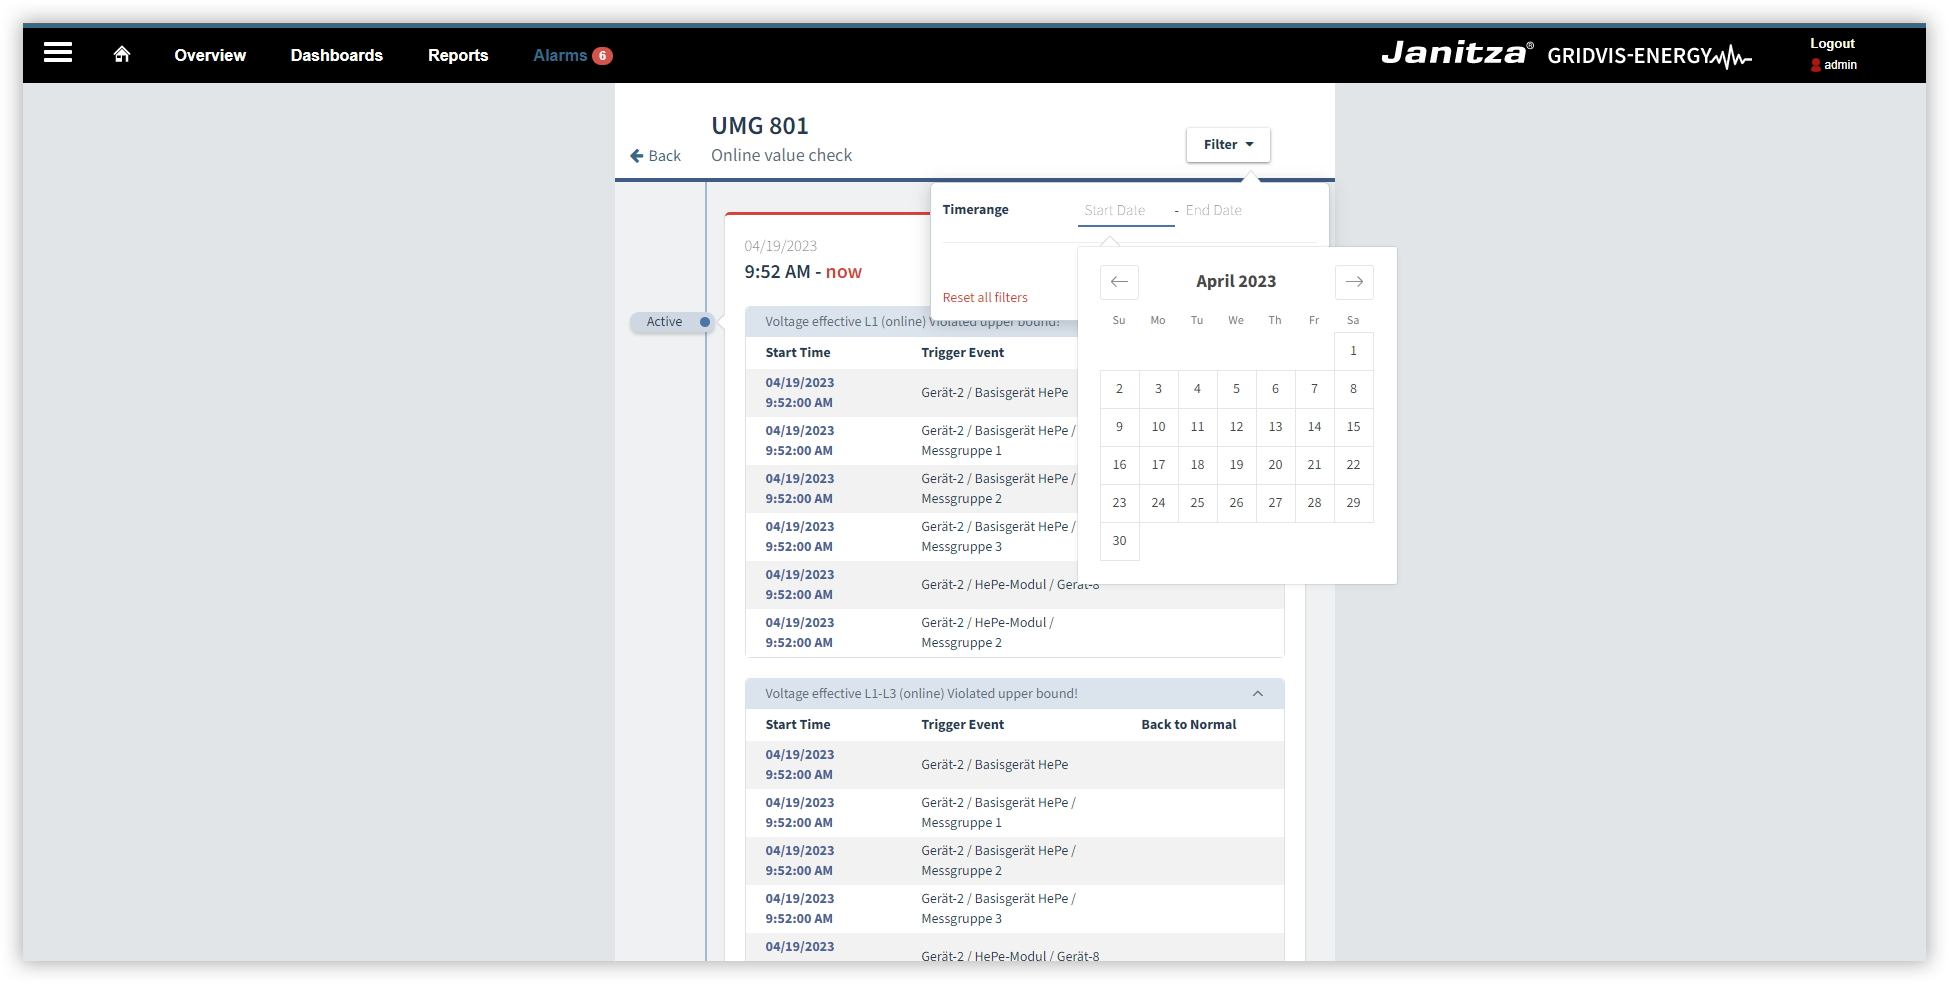
You can filter both pending and acknowledged alarms by the time period in which they occurred.
Click on an alarm group to display the individual alarms of this group.
Click the Filter drop-down button.
Click on Start Date to open the calendar.
Select a start date and an end date. Click Apply. You will now see all alarms that occurred in the specified filter period.
To remove the filter, click the Filter drop-down button once again and then click the Reset all filters button.
Note
Instructions for creating alarm sources and alarm plans, as well as further information about alarms can be found in the section Alarm Management .