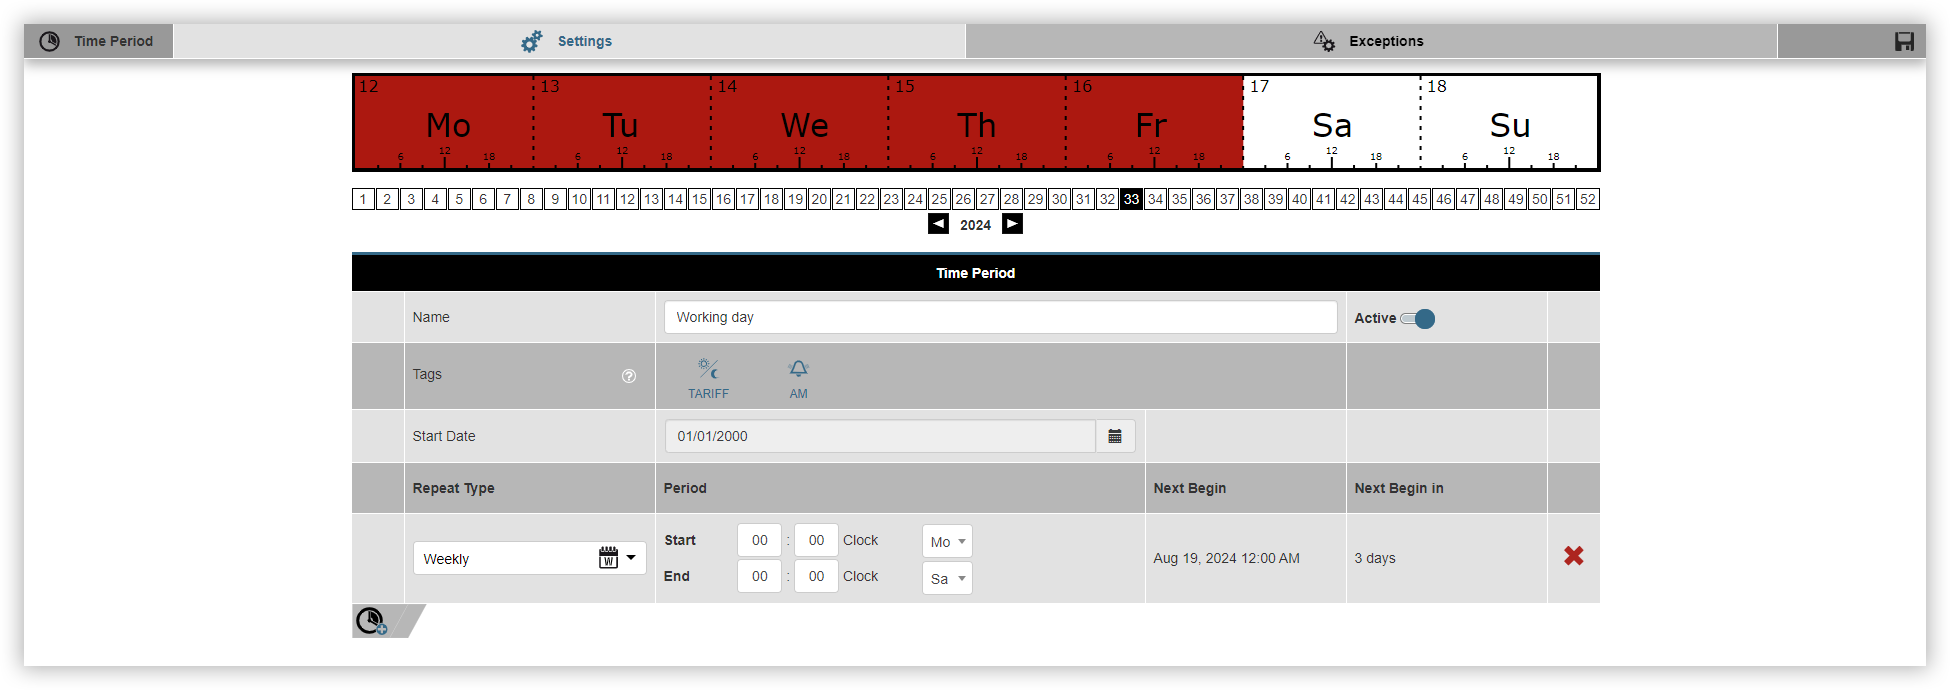
Time periods
Time periods are always active in a certain interval, e.g. from Monday 13:00 to Friday 16:00. Alarm plans and alarm sources are active during this period, for example. These monitor states for deviations or faults. Proceed as follows to create a time period:
Click on the Add time period
Name the time period and select whether it should be active immediately. You can activate and deactivate your time periods in the overview at any time.
Select the tags. Tags define the function in which the time period can be used.
Select the Start date.
Click on the Add entry
Select the Repetition type.
Select the Start time and, if applicable, the Start date.
Then click on the Save time period
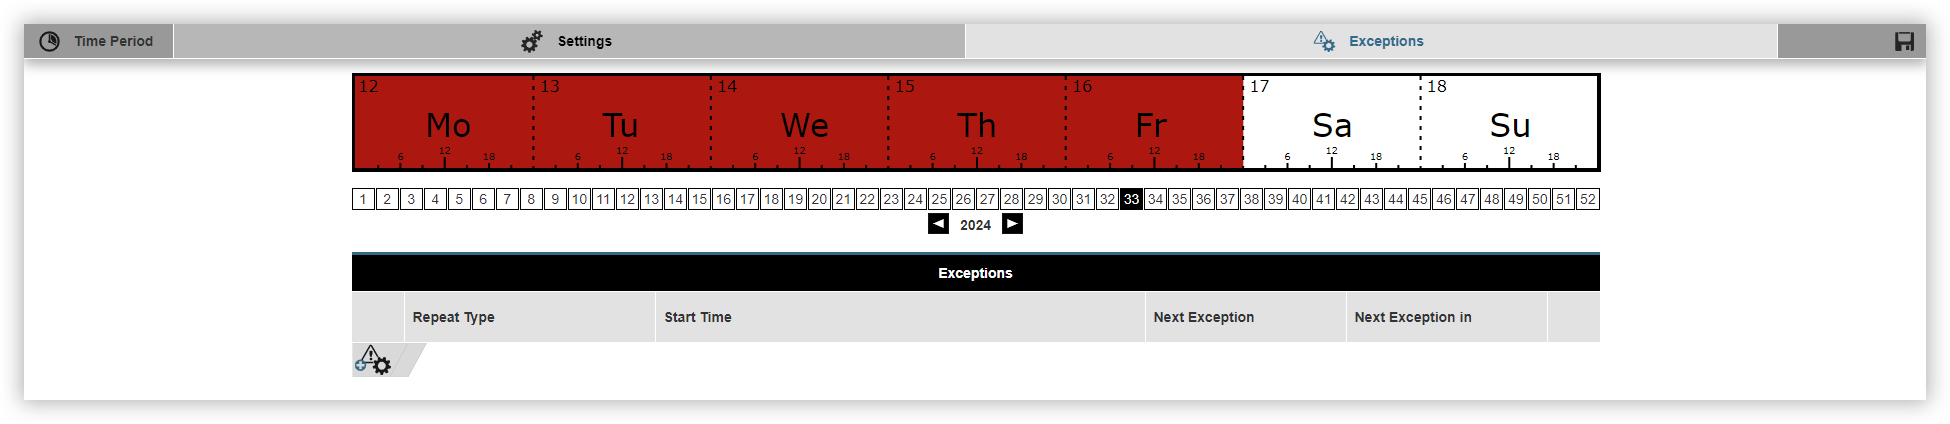
The Exceptions window appears. Here you can define when the previously configured time period should not be active. Proceed as follows to define an exception:
Click on the Add exception
Select the Repetition type.
Select the Start time and, if applicable, the Start date.
Finally, click on the Save time period.